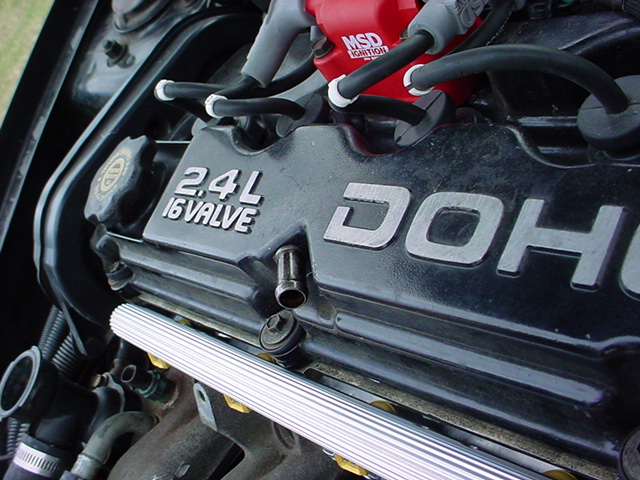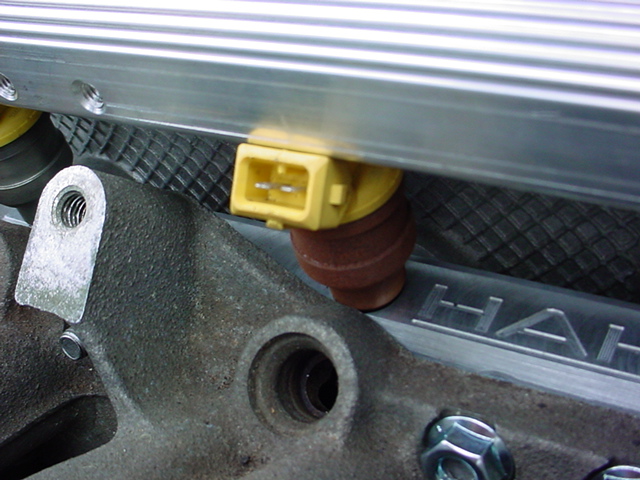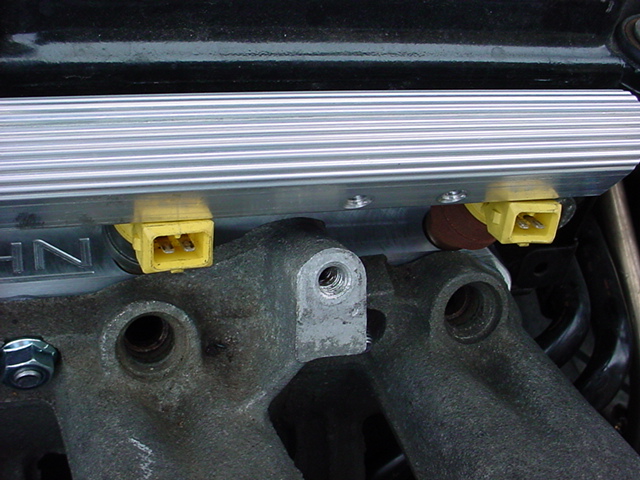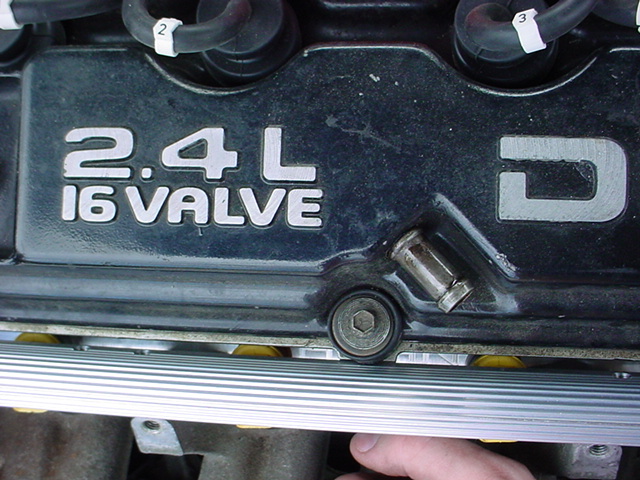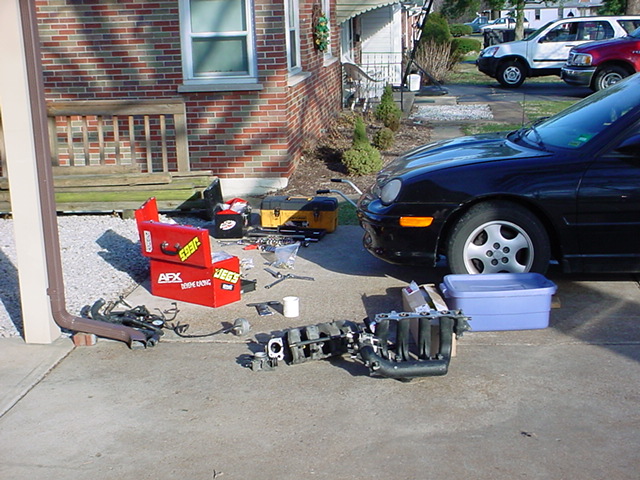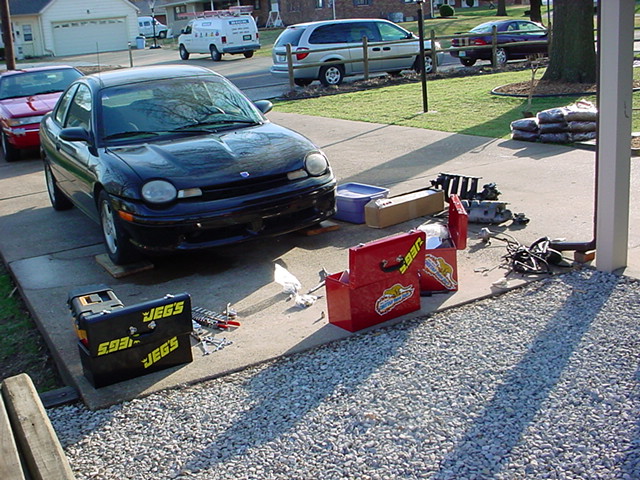
Disclaimer: If you follow anything I say or do in my own personal experiance with the HRC PortFueler and do not follow the steps listed in the installation guide and you in some way mess up the kit, your car, your engine, or anything else that could possibly be linked back to reading this installation guide don't dont come looking for me because I am not forcing you to install anything on your car but just trying to give you some guidance. If you attempt to do this mod to your car and in some freak accident you burn your eyebrows off, or your car to the ground, or your garage, or anything else that could possibly burn to the ground don't blame me for your accident. As with anything that has to do with fuel try your best to resist getting fire or sparks near the car when you are working on this install (Pretty much a no brainer but then again some people seem to forget that thing about gas fumes and sparks).
Some things to note....
This install is based completely on my setup so your steps might look a little different due to the setup being different then mine so take these steps as they are and mix my experiances with the instructions and your own personal setup. One other thing of note neither my directions or HRC directions mention anything about a returnline, disabling your fuel pressure regulator on the module, installing an external fuel filter, or installing a higher output fuel pump. So you are going to have to do some research on those aspects of the fuel system before you go off and spend the dough on the HRC kit. It isn't the point of this installation guide for me to explain the entire workings of a fuel system for a turbo car so I leave that up to you and I am sorry if you feel it should. Oh and if any of my comments may seem like I am only looking for something wrong with this kit I am only offering my personal opinions and giving the facts from my findings on a kit that myself and anyone else can purchase from HRC. Also beware there are about 33 pictures on this page alone and this page and the following pages were not wrote with the assumption that anyone with less then a broadband connection would be reading so if you have a 56K connection via a dial up modem then I am sorry to say you are going to have to wait for them all to load, which they are definitely worth the wait.
Required parts list
If you missed it in the instructions you will need 2 intake manifold gaskets ($7.00 total from Mopar) and if you are tuning this bad boy you will need a serial cable, which is sadly not included with the tuning software for some reason that I can't explain why.
This is my account from Day 1 (and oh what a day it was)
Step: 1
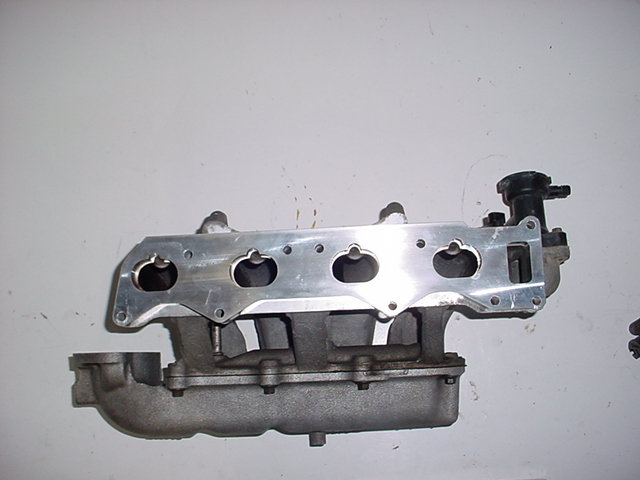
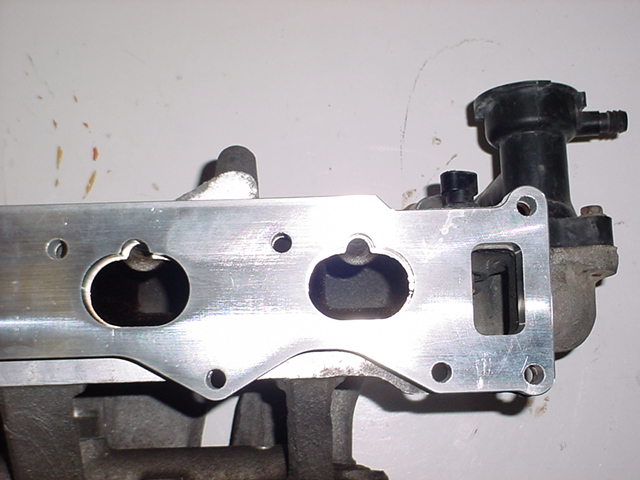
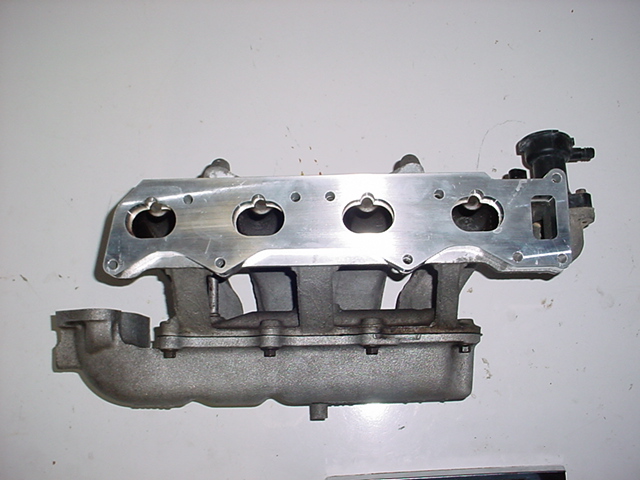
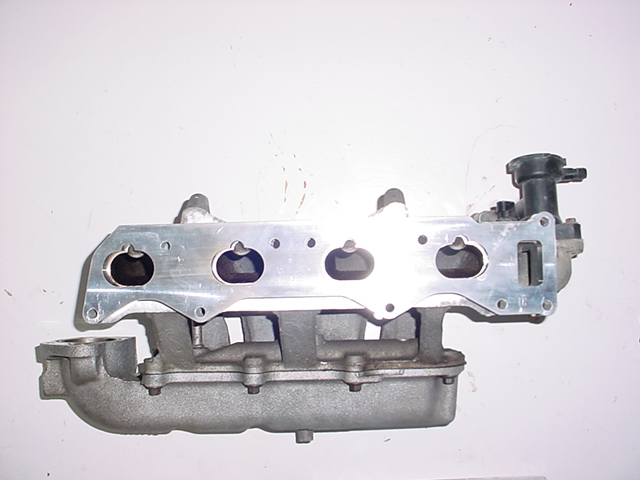
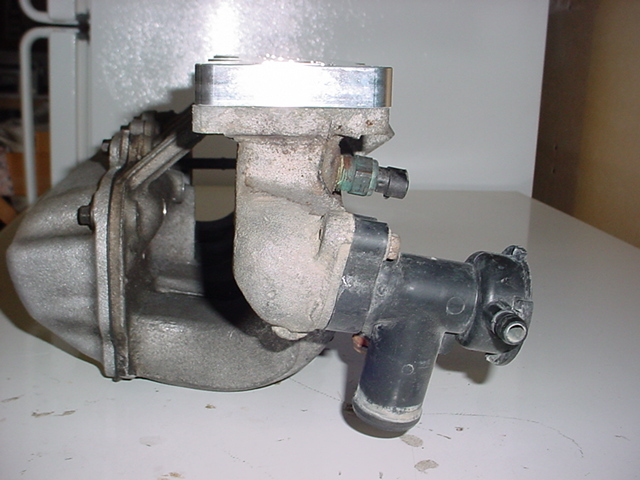
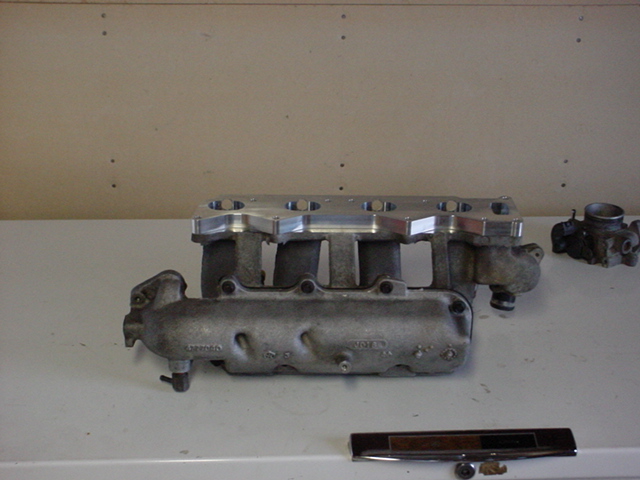
So my first official step was to take the PortFueler plate and put it on the intake manifold to check the ports to make sure everything lined up. The intake manifold ports are a tad smaller then the portfueler ports but then again the intake ports are smaller then the head ports so I didn't see this as being any sort of problem. I also wasn't interested in port matching the intake to the manifold so I left it alone. You are more then welcome to port match the intake but I doubt it will make a really big difference in power unless you are looking to squeeze every last ounce out of your setup and if you are doing that then you probably have a ton more invested in your setup then I do.

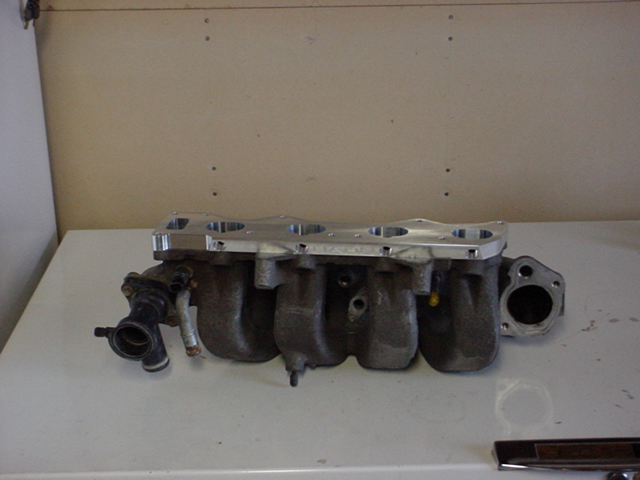
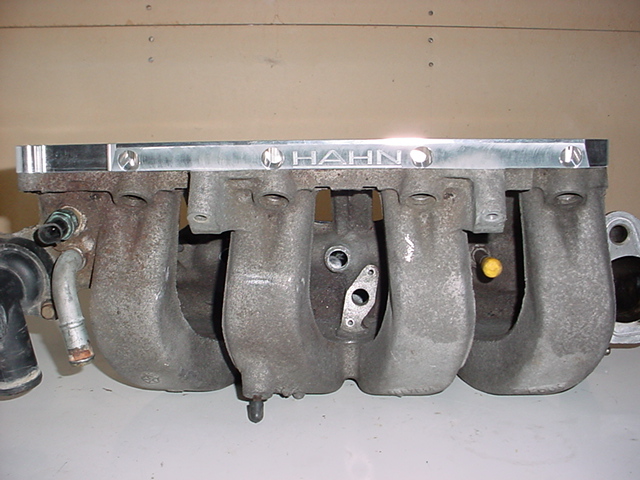
Since I like living on the edge I don't usually remember to disconnect the battery but since mine is in the trunk now and I don't usually work on my car with the keys in the ignition and in the ON position I figured I was ok. But I had other people around watching and helping so if something went wrong there would be witnesses to my stupidity and someone around to help put the fire out. So just as a side note if your battery is in the engine bay I highly recommend disconnecting it and completely removing it from the engine bay.
Step: 2
Remove the cap to the fuel rail schrader valve and proceed to use a schrader valve stem removal tool. Be prepared to have a rag or cup handy when you take the valve out because there is going to be quite a bit of fuel in the rail.
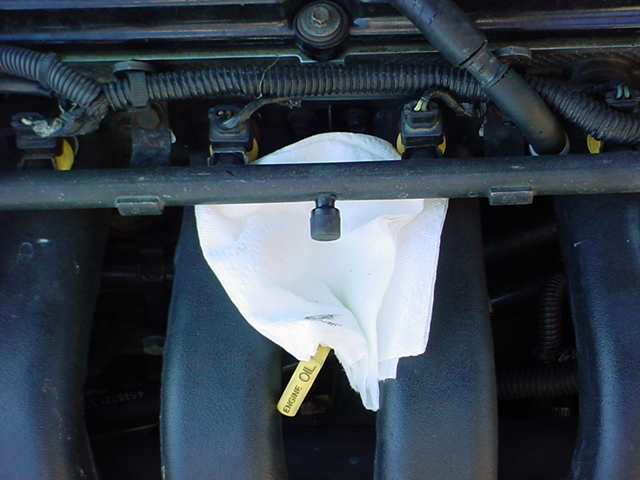
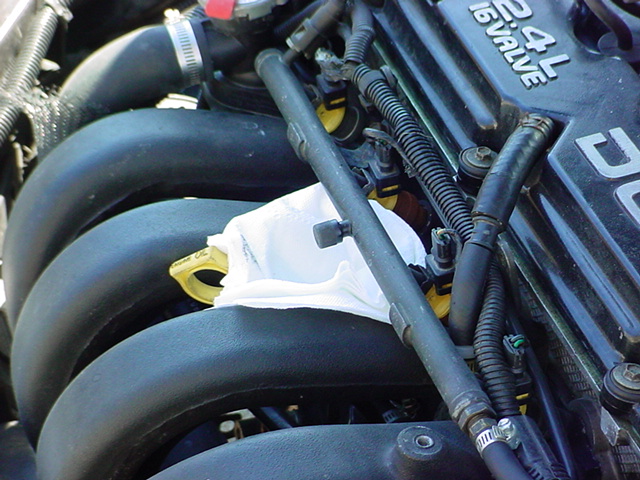
Step 3:
Drain cooling system atleast half way. When in doubt consult your FSM on how to do it because if you have come this far and haven't done it then chances are you might want to reconsider working on a turbo car unless your a dead set on learning by doing because at times they can be a real hassle. They could cause your check book to go into shock and you to develop sudden tendencies to curse at inanimant objects such as your car.
Step 4:
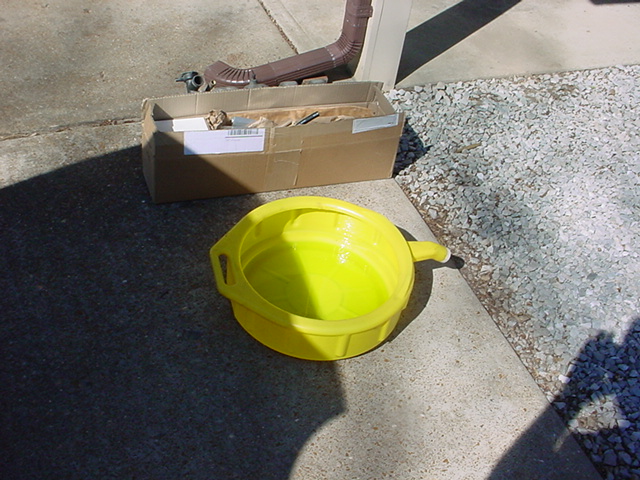
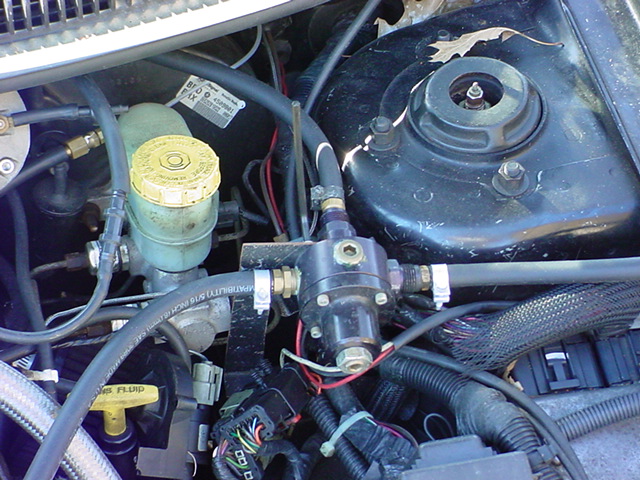
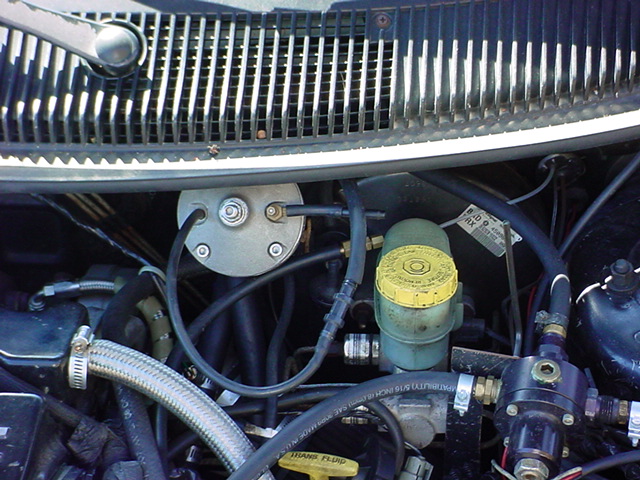
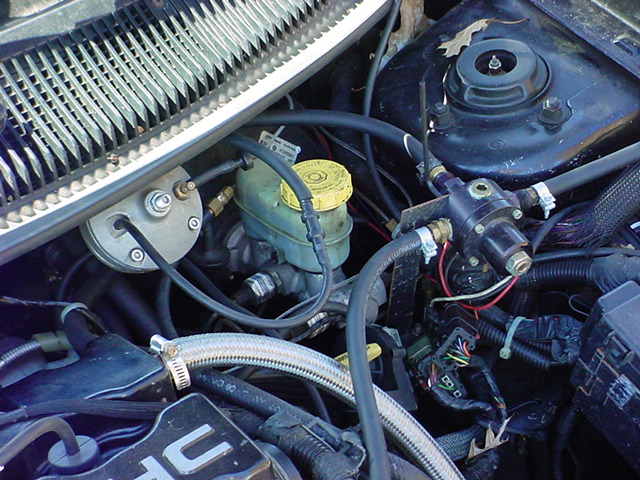
Remove the 1:1 FPR (Fuel Pressure Regulator) and RRFPR (Rising Rate Fuel Pressure Regulator) from their respective brackets and hold them up as high as you can get them to allow the excess fuel to drain out the fuel rail hole, which should still be open at this time and if it isn't you should refer back to step 2. I am not going to dig too much into this step since as I mentioned before the my setup is probably different from yours but I have supplied some pictures to give you an idea what I did in this step.
Step 5:
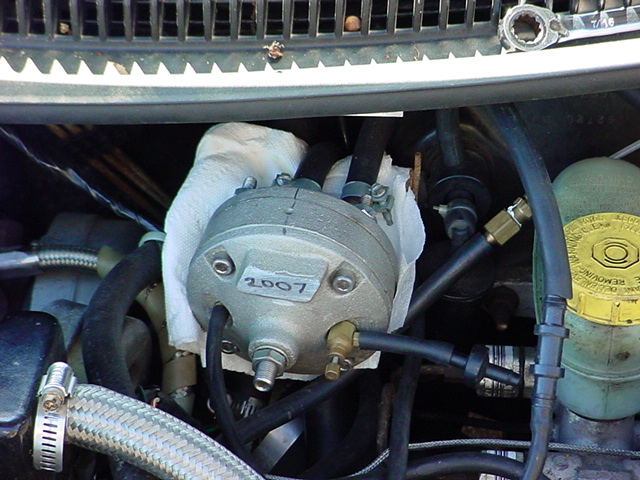
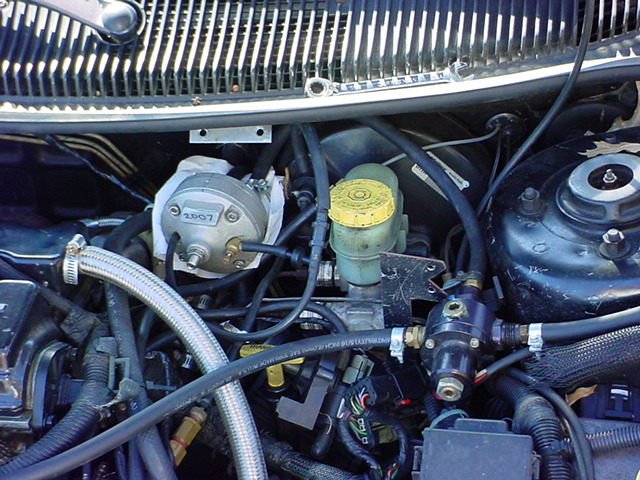
Next step is to remove the lines that run to and from the RRFPR and be sure you have a rag handy because I can guarantee there will be fuel in the RRFPR and the feed line. Then you need to remove the RRFPR from the engine bay.
Step 6:
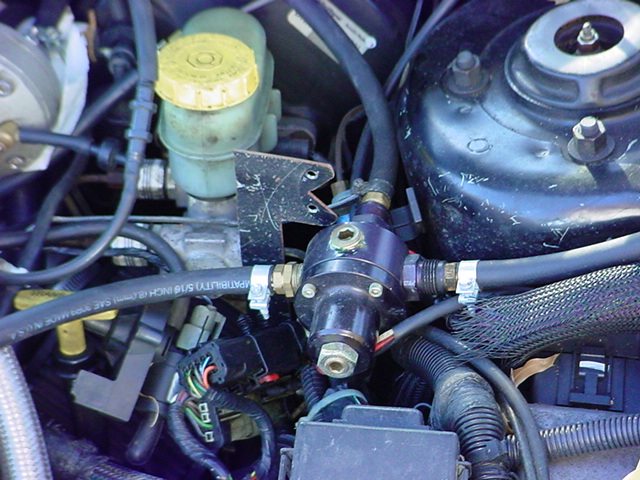
After removing the RRFPR unit completely from the engine bay the next step is to remove the 1:1 FPR from the system. But before doing that make sure you hold the regulator up so as to allow the fuel to drain into the rail and out the hole in the middle. Then you can remove the hoses that connect the FPR to the rail.
Step 7:
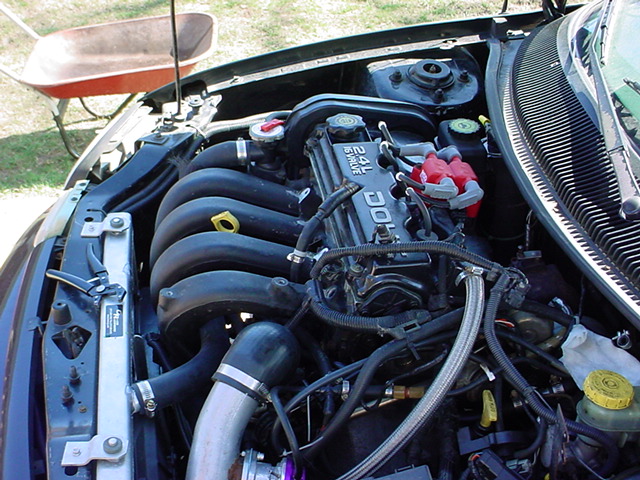
Next on the list is the removal of the stock fuel rail and PCV hose. Again not a big issue and I am not going to go into detail on how to do this.
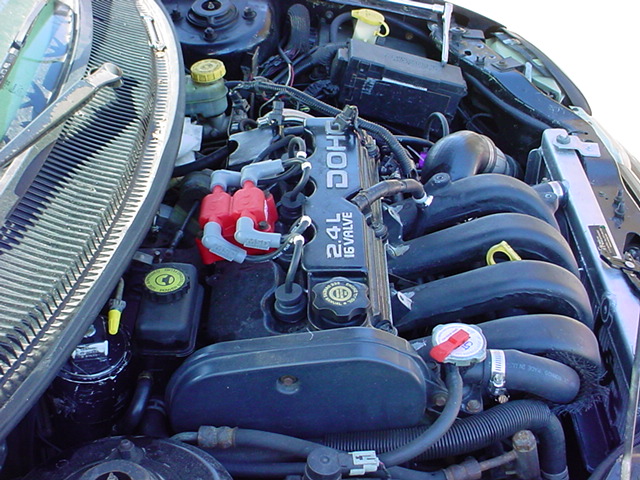
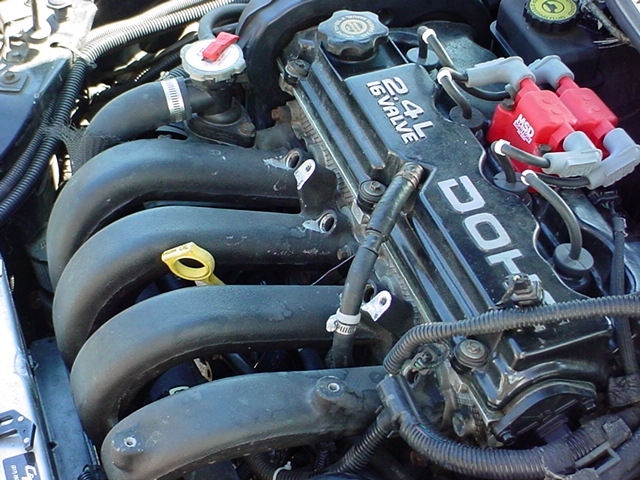
Step 8:
Your next move is to remove your throttle body, assorted intake components that will probably cause you problems if you leave them installed, and the EGR system.
Step 9:
You will then want to remove all of your vacuum lines that connect to the intake manifold and move miscellaneous wiring harness components out of the way.
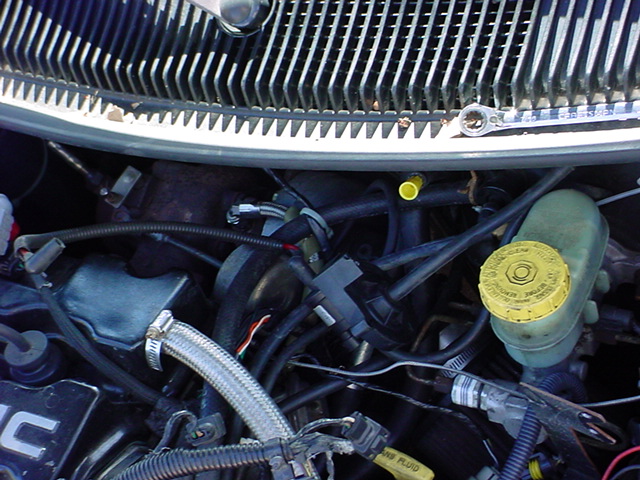
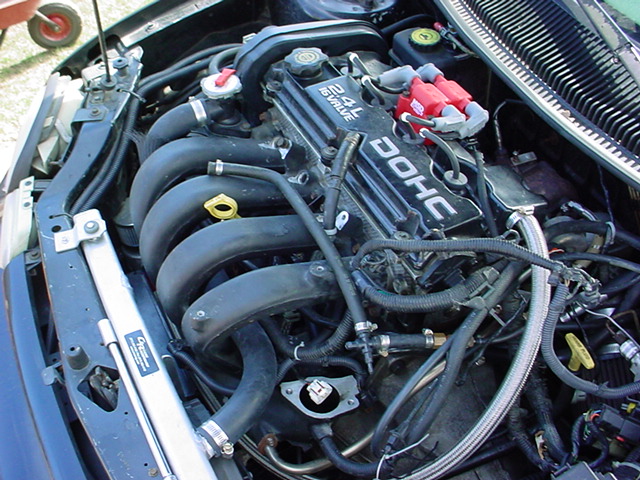
Step 10:
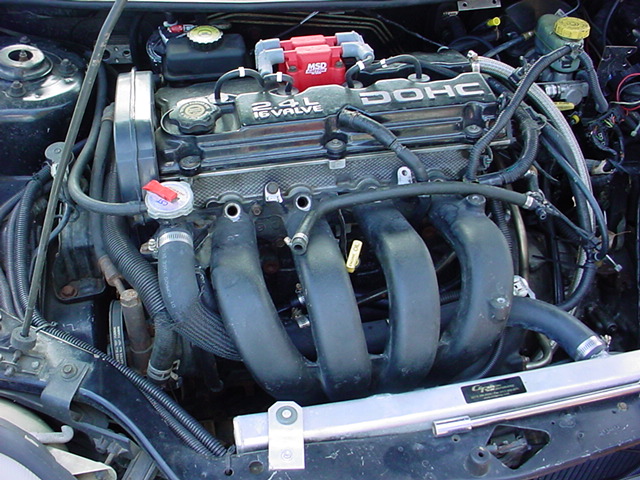
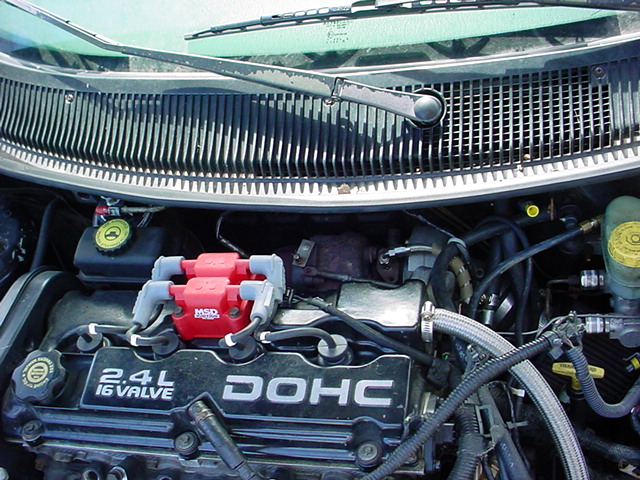
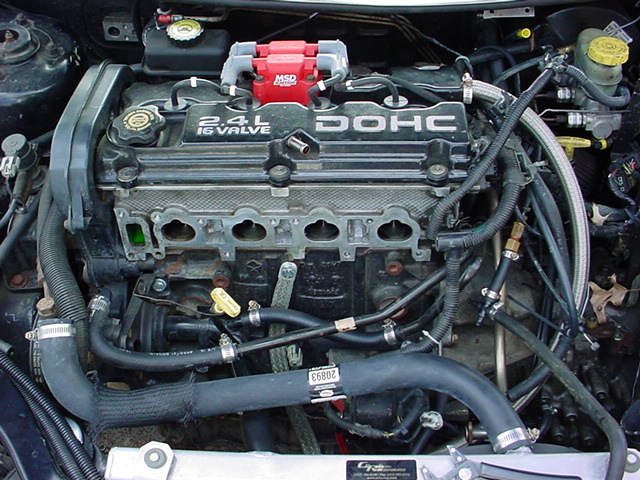
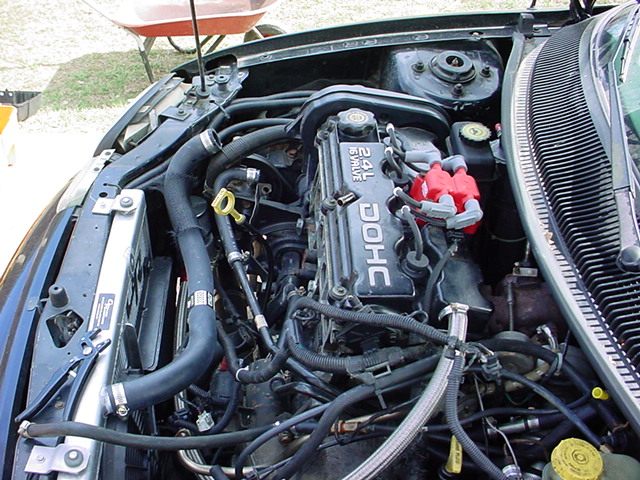
Remove all of the cooling hoses and finally remove the intake manifold. Chances are it will not be easy for you to remove your intake manifold and if memory serves me correctly you will have to loosen up the power steering pump to gain access to the last two bolts on the bottom left hand side of the manifold. Trust me it is a real bummer and could take some time. But since I don't have a 2.0L block and my powersteering bracket is different and the intake manifold I was using is also different.
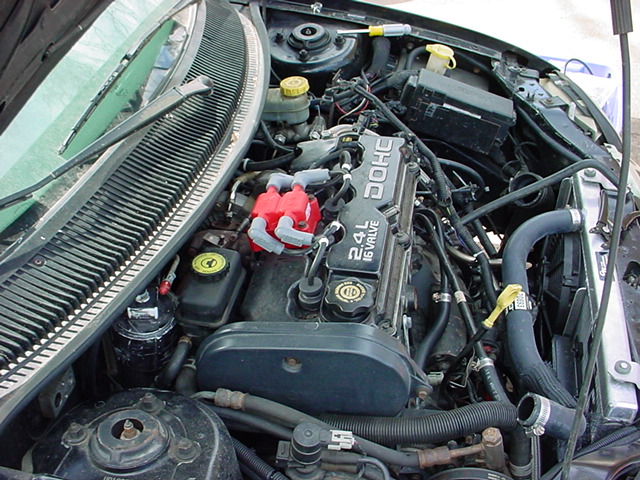
Step 11:
As is mentioned in the HRC installation guide the intake manifold needs to be ground down to accept the injectors and the head needs to be ground down a tad to not rub on the fuel rail. Basically you need to install the studs, HRC plate, intake manifold, injectors to the plate, and rail to see just how much grinding you need to do.
