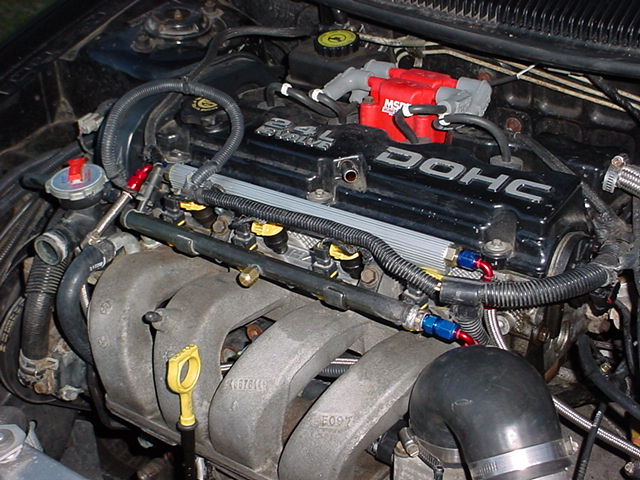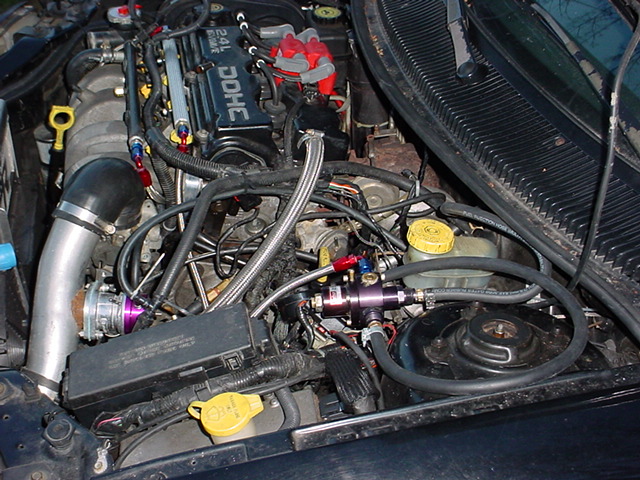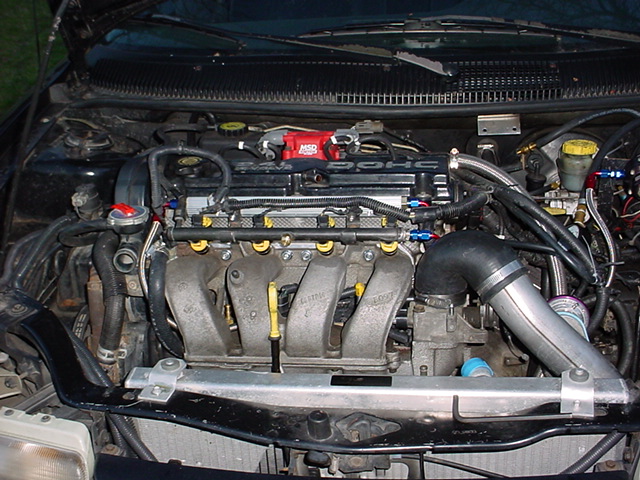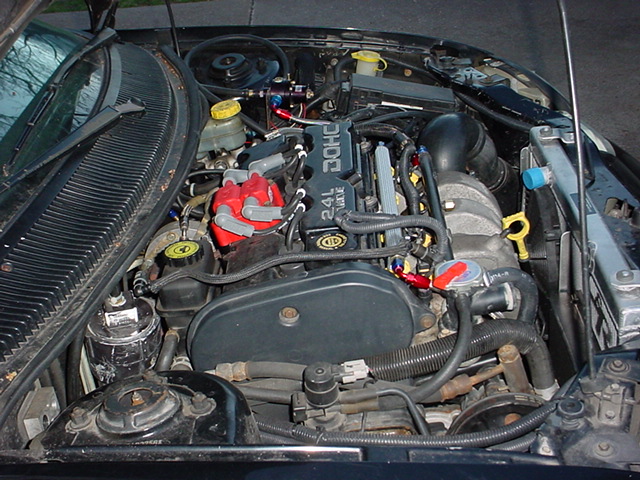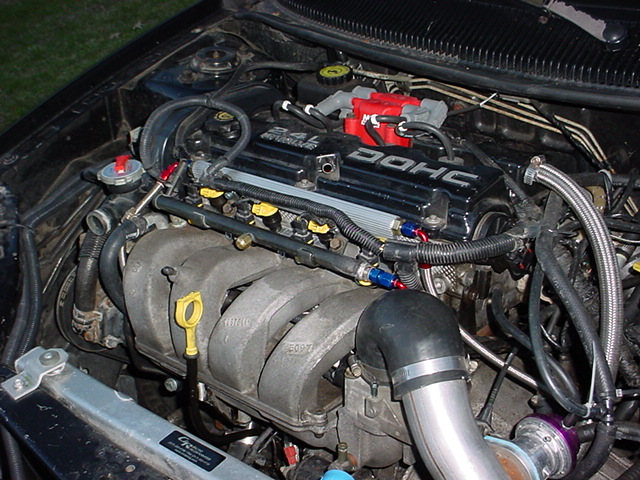
This is my account from Day 2 of the HRC PortFueler Installation.
Step: 12
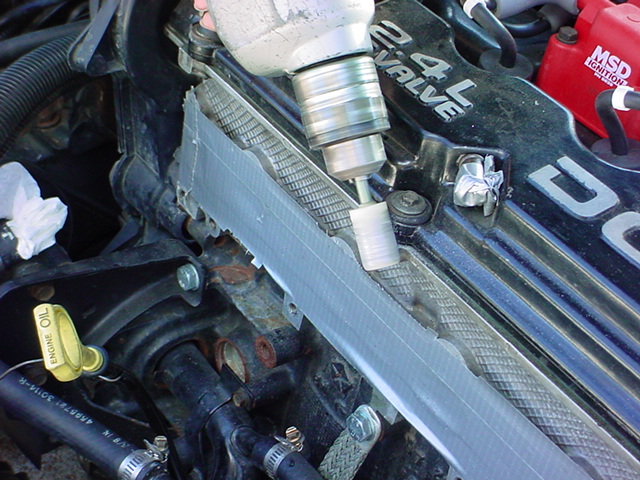
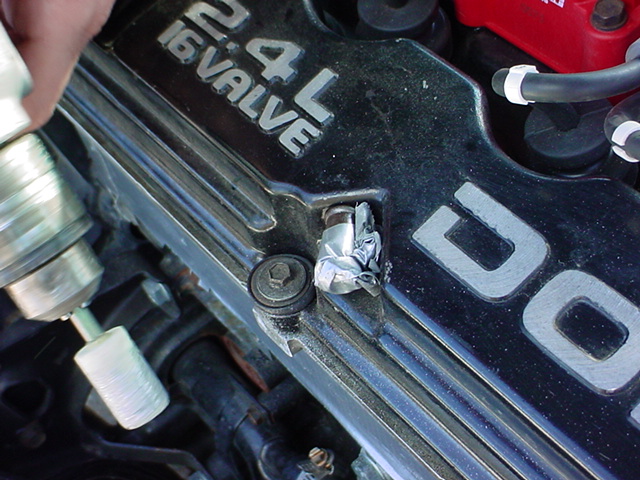
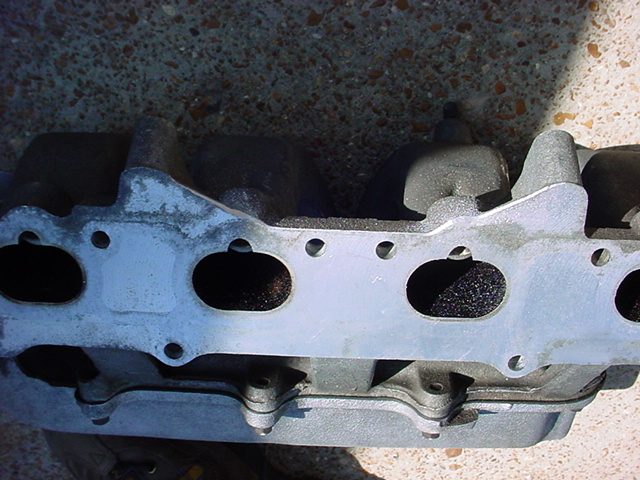
After you determine how much material you need to remove from the cylinder head and intake manifold you next step is to tape up the cylinder head and intake manifold to keep aluminum flakes out. The best tape to use is Duck tape since it is usually wider and practically goes across all of the ports in one run.

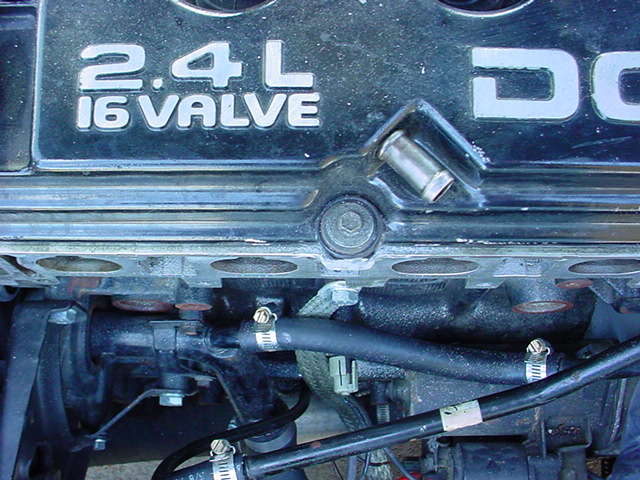
Step: 13
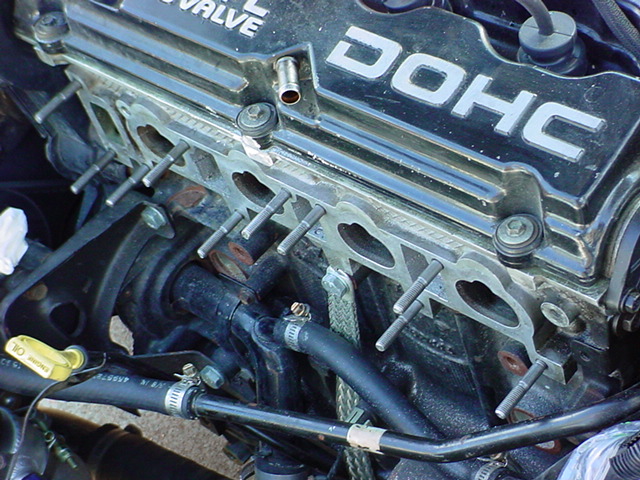
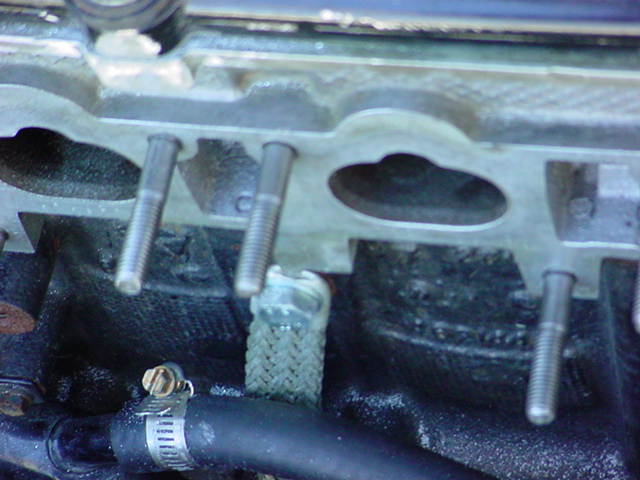
The next step is to install the studs. At first I thought the studs were too short but it turns out that the studs only go on in one direction for them to work the way they are designed to work. I had them on backwards plain and simple. The correct way for the studs to be installed is to have the stud istalled with the small area of threads on the other side of the blank area with no threads into the head first. Once you do that there is plenty of threads to stick through the plate, gaskets, and intake manifold.
Step: 14
After that you need to install the gaskets, plate, and manifold. From there you need to do the basic tightening pattern for the manifold. I didn't use a torque wrench so basically I just tightened them down snug and left it at that.
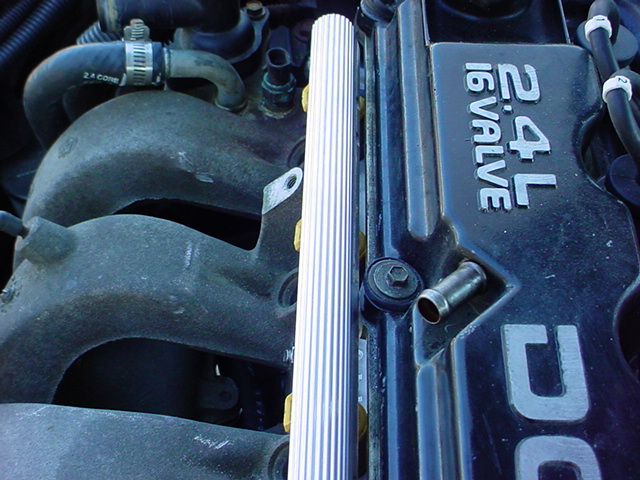
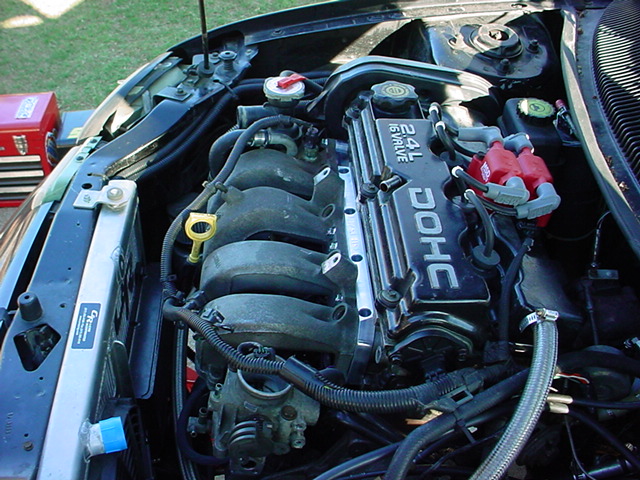
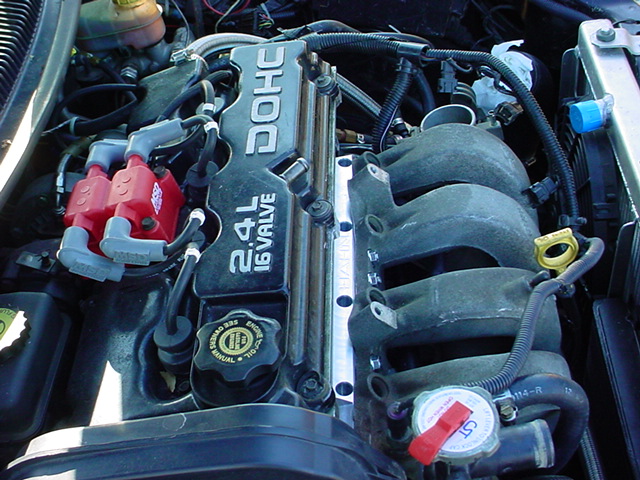
Step: 15
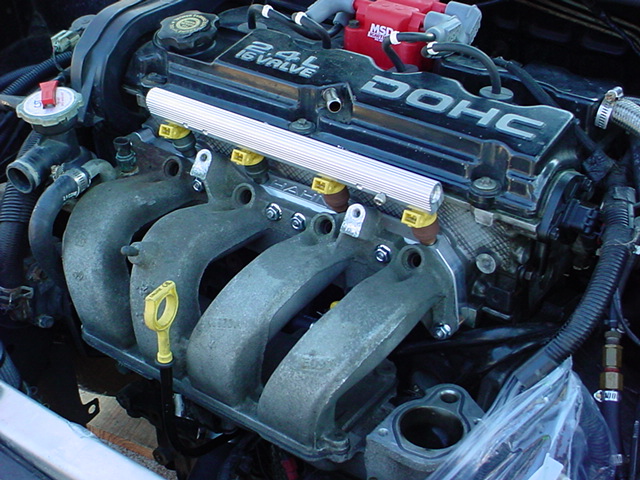
The one major concern that I had was with the Neon kit (apparently the DSM kit is different because it has some sort of support for the rail) there is no way to brace or support the supplied fuel rail other then with the injectors or atleast I didn't read anything in the instructions that said otherwise. So the fix that we came up with was to drill a hole in the stock fuel rail mounting brackets and put both of the supplied allen head screws that came with the kit into the threaded holes in the second fuel rail to stabilize it and keep the injectors engauged in the plate. Some modification of the top of the brackets was in order since it was not quite the same angle that the second fuel rail sat at when fully engauged. One word of caution is be careful with the bracket on the stock rail since it apparently is soft and was relatively easy to bend. After modification you should test the rails to see if they work together.
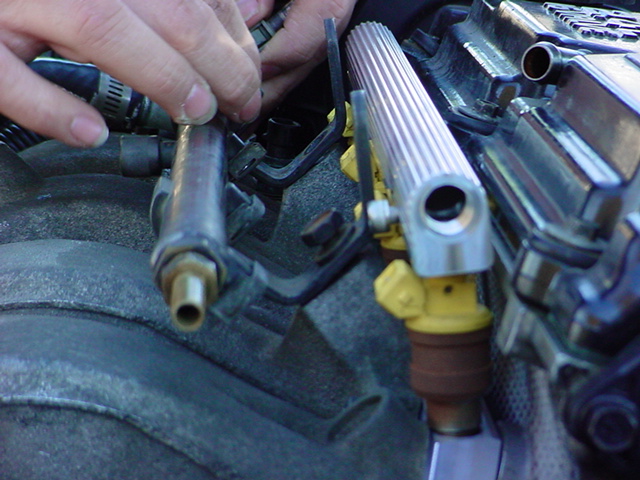
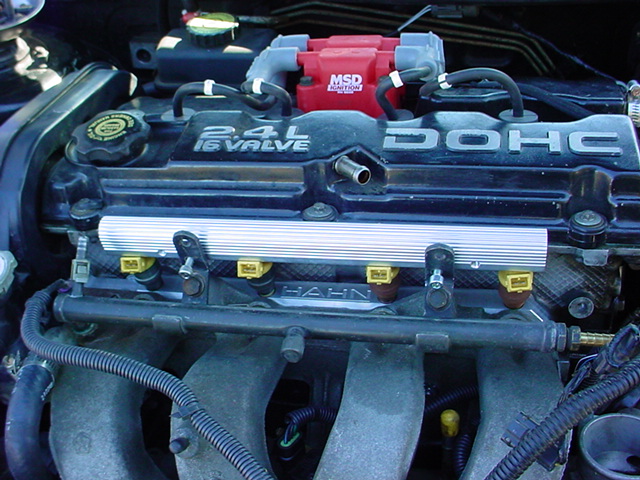
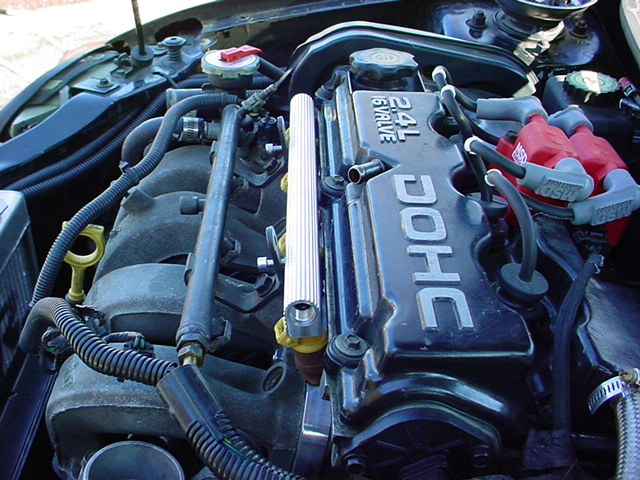
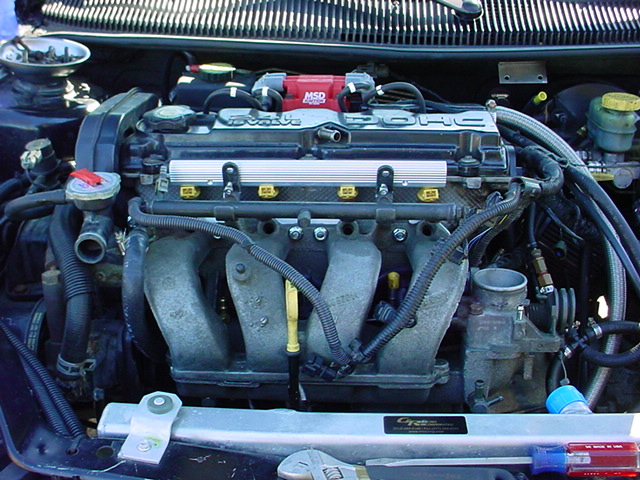
From here on out I am doing things differently then is outlined in the HRC instructions as far as the fuel system is concerned. Mostly because either I can't see why the kit doesn't come with something it should or my setup is distinctly different and needs to be done different.
Step: 16
Next you need to install both rails and their injectors and make sure everything is properly seated before you start cranking down on any screws. Rather the use the rubber hoses and fittings supplied in the kit my friend and I determined that with a little more money invested I could have a rock solid fuel system that would not only be functional but would look bad ass and be easy to remove if required to do so. We decided that what was supplied would suffice for most of the masses but my car is something more then your average turbo Neon so I sprung for the braided fuel lines and AN fittings to give it that extra edge to set off the engine bay. There are a total of 4 90 degree -4 AN fittings in my setup with about 4 1/2 feet of -4 braided hose. Since my rail was already tapped for a fitting on the opposite end we used that to run a fuel line out of and looped it under the runners and over to the second rail. After that the second rail there is another 90 so the fuel line can run down and under all of the vacuum hoses and electronics over to the 1:1 Mallory regulator that I had installed from the previous fuel system, which I opted to reuse after I installed the stiffer spring in to allow the fuel pressure to go higher.
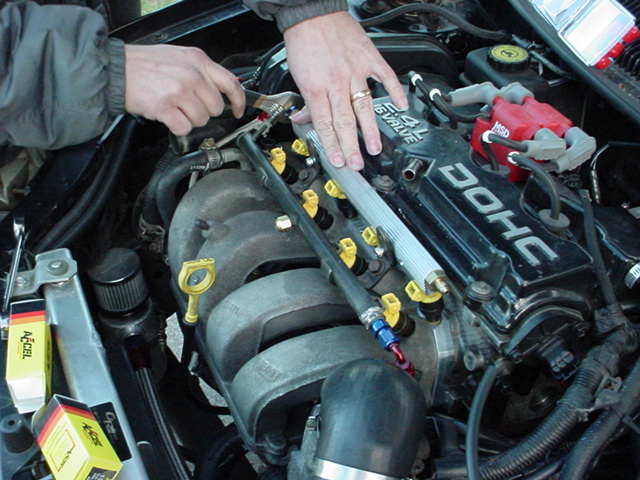
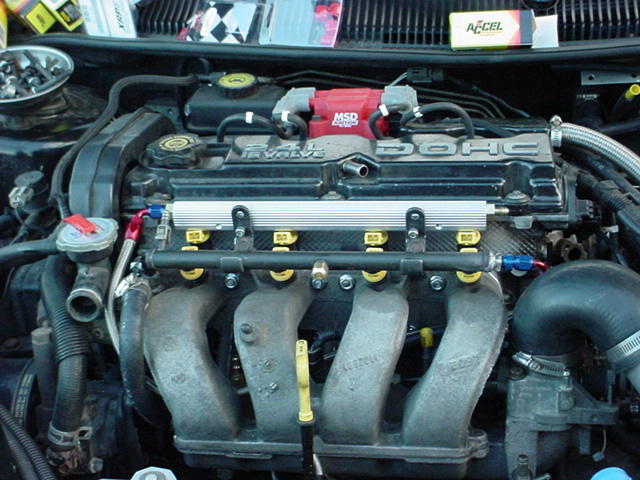
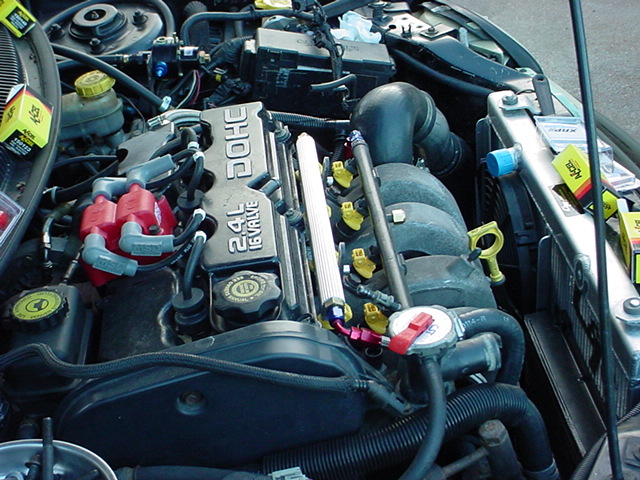
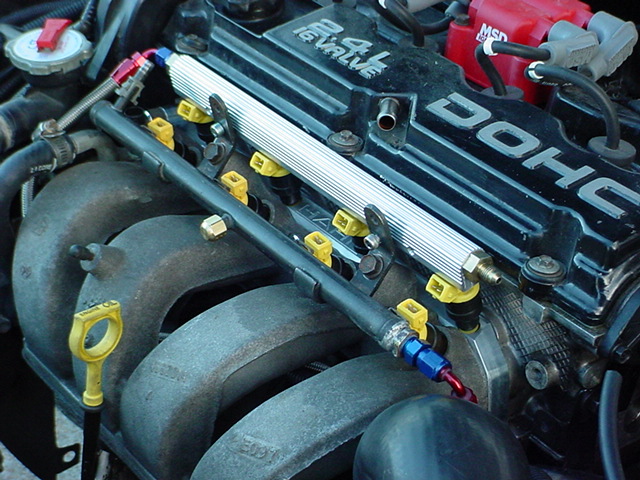
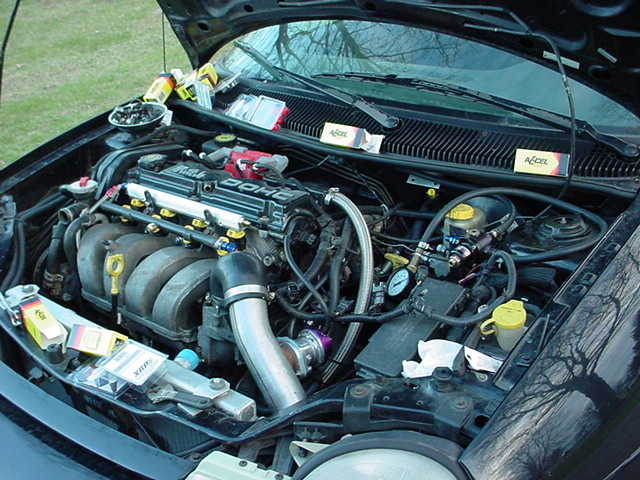
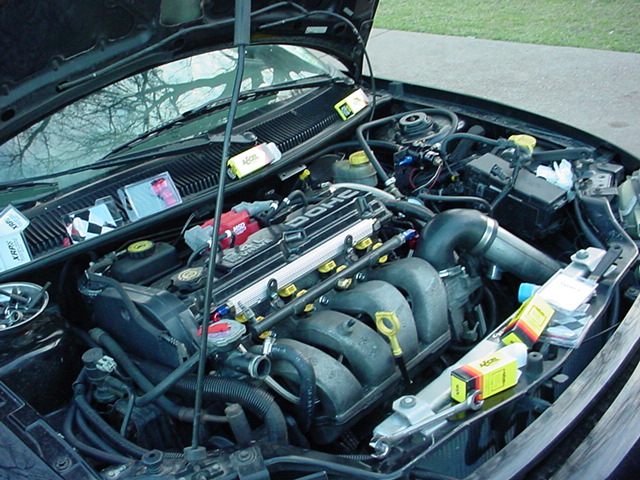
The second day went a whole lot smoother then the first day. All of the issues that were brought up after the first day were resolved on the second day and at the moment there are no apparent problems. All that is needed is the vacuum lines need to be sorted out, the EGR system needs to be capped off, and the CEL needs to be fixed after that. All that remains after that is electronics such as the MSD Ignition, MSD tach driver, LM-1 Wideband w/ peripherals, and HRC Portfueler harness w/ black box. Chances are it will be at least 2 weeks before I get back to the car so stay tuned.....
