
Disclaimer: If you attempt to do this mod to your car and in some freak accident you burn your eyebrows off, or your car to the ground, or your garage, or anything else that could possibly burn to the ground don't blame me for your accident. If you do this to your car and an accident happens I hope you don't come looking for me because I am not forcing you to install anything on your car but just trying to give you some guidance. As with anything that has to do with fuel try your best to resist getting fire or sparks near the car when you are working on this install (Pretty much a no brainer but then again some people seem to forget that thing about gas fumes and sparks).
Some advice and things to consider......
Depending on how many tools you have at your disposal this shouldn't be too difficult even for those who have just a few screw drivers and hand saws (more difficult for those who are lacking in the tools department but not impossible). Depending on how your fuel system is setup my how-to might be a tad different. So rather then attempt to cover all of the wide array of fuel system setups I will just give you a how-to on how I did mine which should get you in the ball park (or atleast help you find the ball park) on how to do this to your own fuel system. This how-to is also wrote in the hopes that you already have a return line style system setup on your car as opposed to just the returnless setup that the car comes with. Make sure you have extra EFI rubber fuel line and fuel line clamps (not those stupid worm clamps) at your disposal because you never know when you will need extra stuff and you might not have a second car in your driveway to go looking for spare parts and tools. Before you get crazy (with the cutting torch) and start pulling parts off your car I suggest you take a look at your fuel system and map out what you want to do and what it is going to take to get you from the beginning of this install to the end without a hitch (or aleast with the least amount of problems as possible). Another tip is to read through this entire how-to several times so you can get an idea as to what you are getting yourself into.

Step: 1
Remove the negative battery cable or just remove the who darn battery. I didn't do this step but then again I was very careful when I was messing with the fuel system. Hindsight I should have removed the battery but no worries the car didn't burn to the ground.......

Step: 2
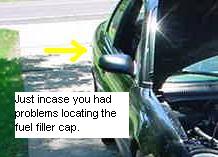
Loosen fuel filler cap to your fuel tank as per the FSM (That's Factory Service Manual for those that don't know).
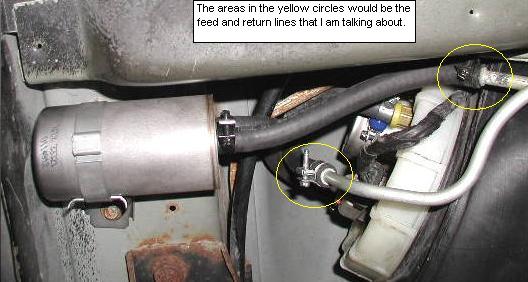
Step 3:
Remove the cap to the fuel rail schrader valve and proceed to use a schrader valve stem removal tool. Be prepared to have a rag or cup handy when you take the valve out because there is going to be quite a bit of fuel in the rail.
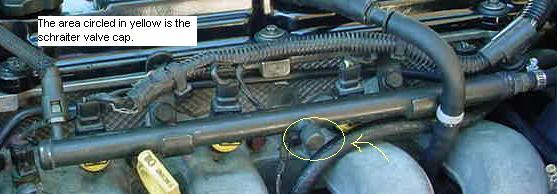
Step 4:
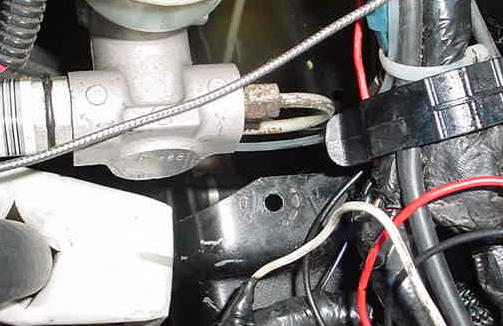
Remove the fuel line that goes between your fuel rail and your rising rate regulator.
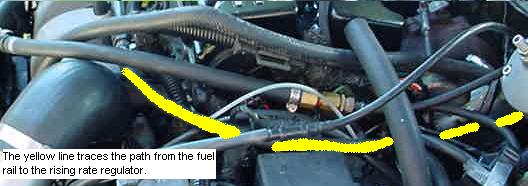
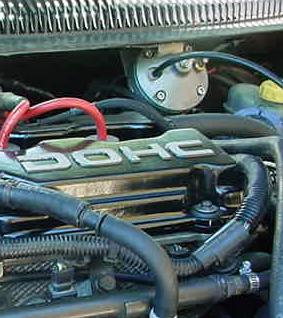
Step 5:
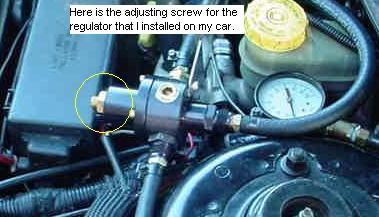
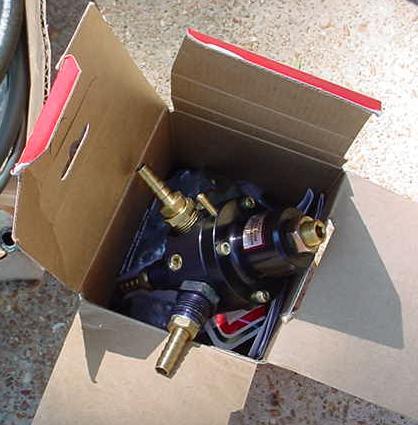
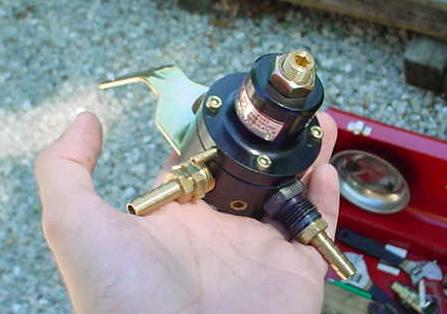
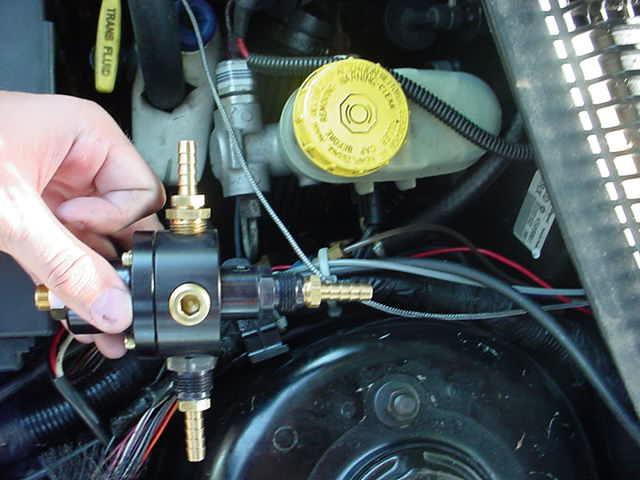
With the lines removed you need to think about where you would like to mount your new 1:1 regulator. Make sure you purchased one before you attempt this install.
Step 6:
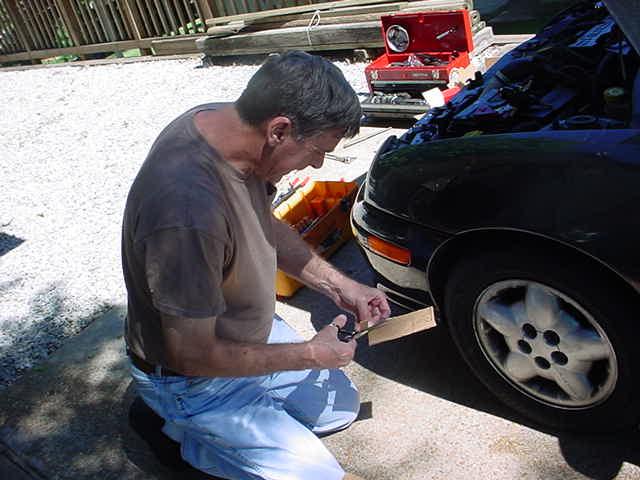
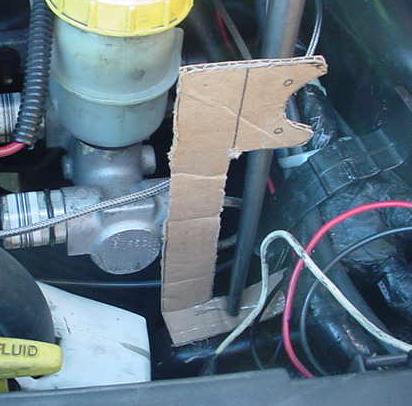
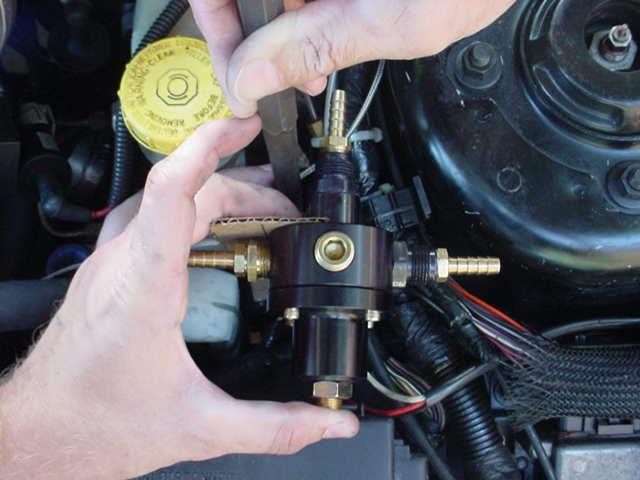
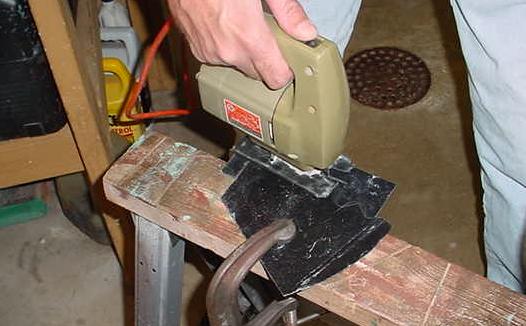
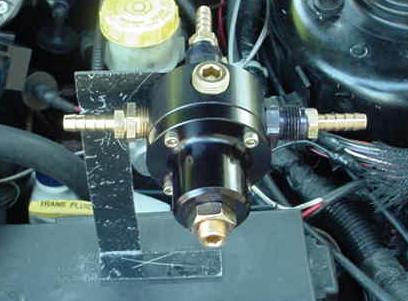
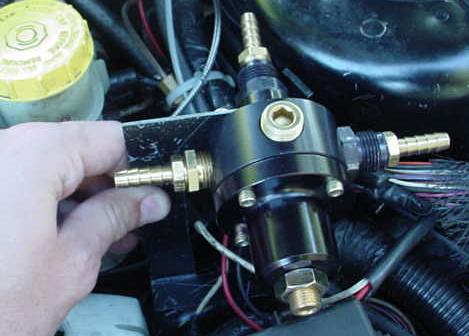
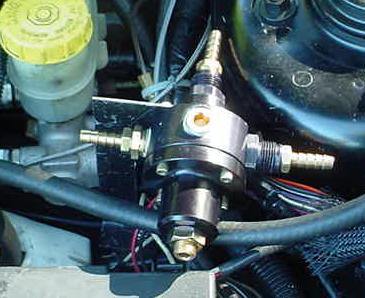
Once you have a good spot picked out you need to fabricate (yes fabricate as in build from scratch) a suitable bracket to put your new regulator that is unless your regulator comes with a mounting bracket that you can actually use.
The first step here was to break out the cardboard to make a template of what we wanted the bracket to look like.
Step 7:
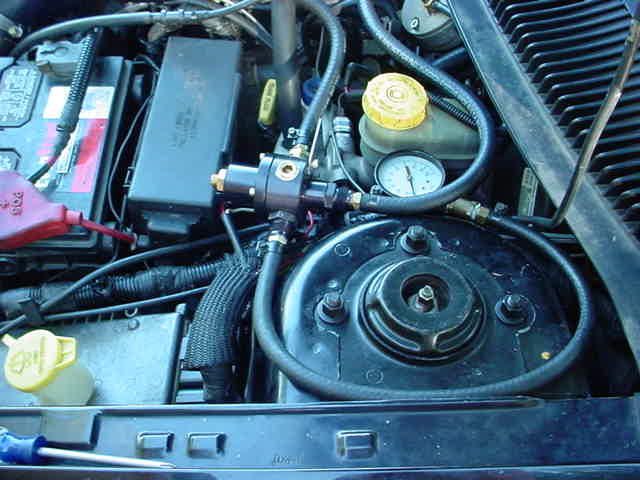
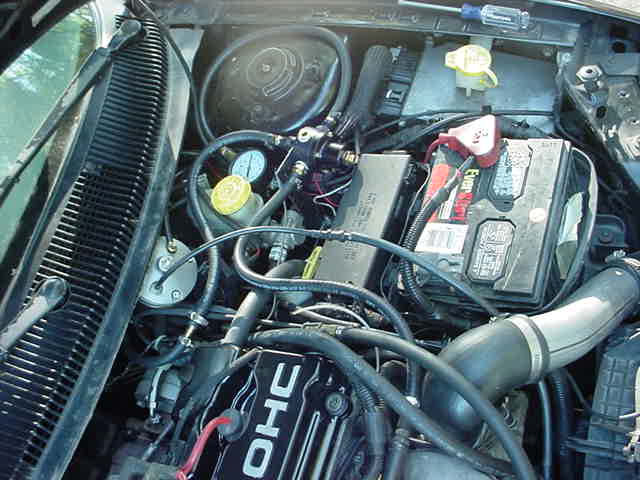
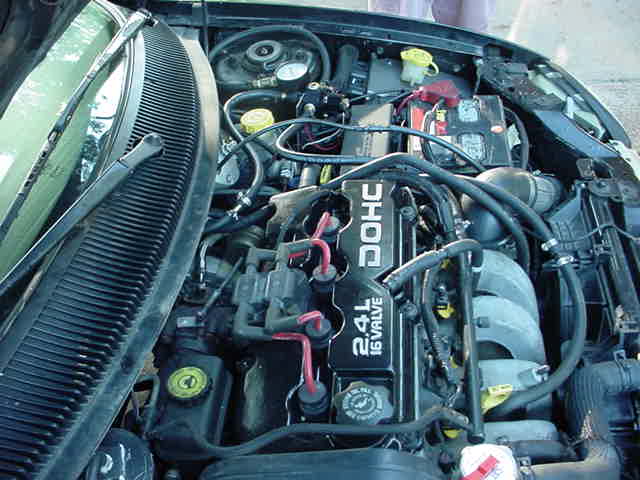
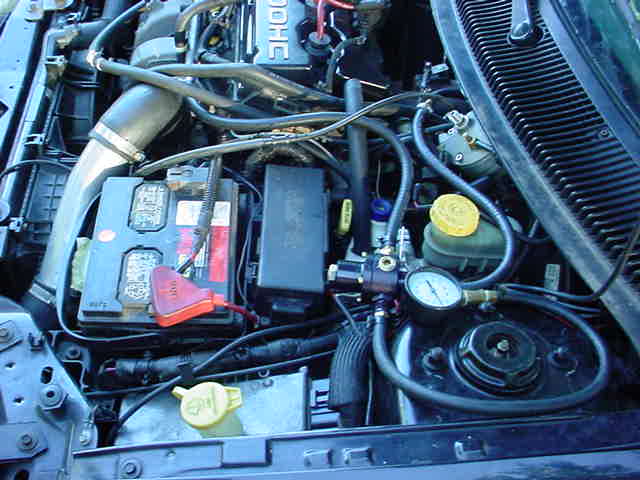
Install your new bracket and fuel pressure regulator. Make sure before you install the regulator that you have all of the proper fittings already installed on the regulator. Just before I did the final tightening of the fittings that Dennis supplied with the regulator I put some plumbers teflon paste (not the stupid teflon tape because that will not work) on the threads to keep the fuel from attempting to escape. You can pick that stuff up from just about any hardware store.
Step 8:
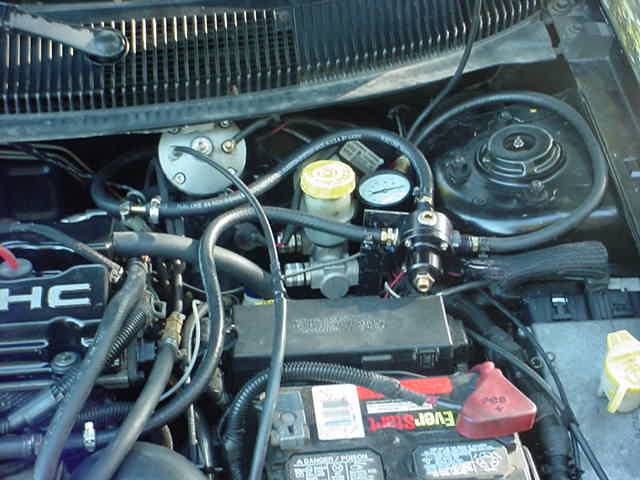
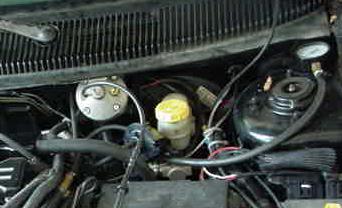
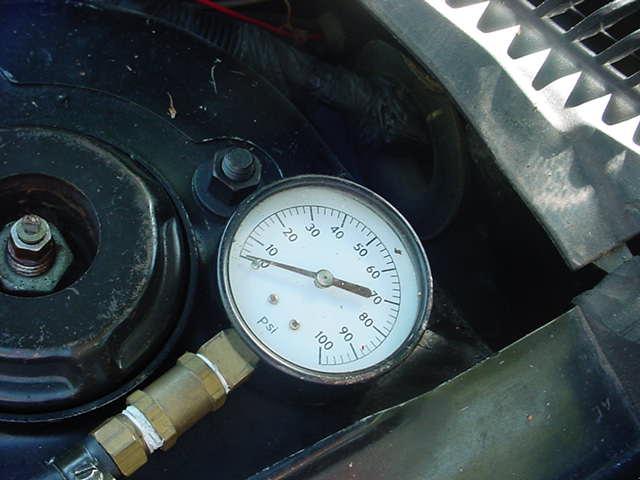
Install the new EFI fuel hoses between the rail to the 1:1 regulator and from the 1:1 regulator to the rising rate regulator with fuel system clamps (as before not the stupid worm clamps). If you are installing a fuel pressure gauge for the first time you need to make sure that you either have it plumbed into a fuel pressure reference port on the 1:1 regulator or have it "T"ed into the fuel line before the 1:1 regulator. Make sure that the fuel hose is EFI rated fuel hose because there is a difference between the carberated and fuel injected hose (If you don't get it then you might be on the news later that evening for burning down your car, house, etc....).
Step 9:
From here everything is pretty much done in reverse order: Reattach RRFPR (Rising Rate Fuel Pressure Regulator) to where ever it resided before you disturbed it, put schrader valve back into the fuel rail, put cap back on to schrader valve, reconnect the fuel hoses near the fuel pump, tighten up fuel filler cap, and reconnect battery. Make sure you recheck everything several times before you crank that baby over. When you do look for fuel leaks because it is good to catch them now before they become a problem when you are driving which would suck.
There that wasn't so hard now was it......
Ahhh but we are not finished yet.
Step 10:
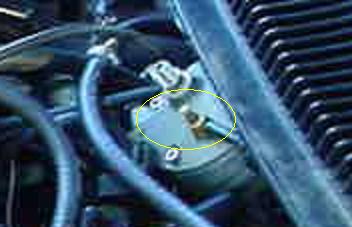
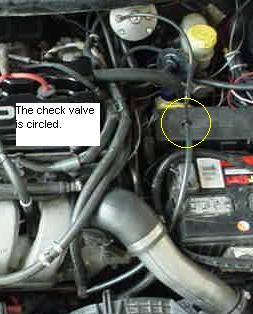
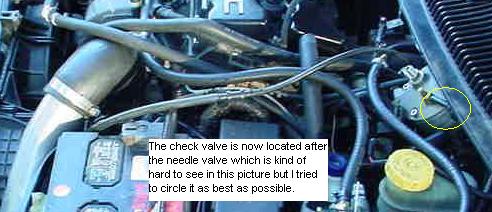
If you have a Cartech unit like I have you should have have had your Cartech hooked up like this before you did this upgrade to your fuel system: Vaccuum "T" just below throttlebody, Vaccuum hose from throttlebody to check valve, check valve to Cartech w/ restrictor, and Cartech venting to atmosphere off the needle valve port.
Tuning:
Basically I did a very simple tuning job in my driveway so the car can be driven around town without much fear that it will explode but mind you it is running really rich.Here is what I did: With car running and in park with e-brake pulled you first need to set your static fuel pressure with your 1:1 regulator. Don't ask me what yours will be because I have no clue how to figure out the static pressure for a car. I do know that with my setup Dennis told me I needed about 18-20ish psi for it to idle properly. Remember to hook your Cartech up the way that the website outlines with the checkvalve on the needle valve.
